hello scrappy friends!
yesterday it was my turn to dazzle you at
the PAPERHAUS blog and i decided to post a mini-tutorial about a mini album!
it is almost summer {even in the Netherlands} and the days are getting longer, lazier, brighter and happier. it is also the time when children say good bye to their kindergarten and go to school. my goddaughter is going to school in september and i decided to create a mini album for her, where she can preserve all those happy pictures from her last summer as our beloved little baby girl. because as she put it herself “coming september i’ll be big and wise, mommy”!
so, here it is - a mini-album for a very special mini-lady:
i’ve written down a short tutorial on how to create this mini album.
step 1: cover the craft cover of your album with gesso. allow it to dry.
step 2: when dry, cut out a small rectangle in the cover of the album. i wanted to give extra dimension to my album, without making it too “fat”. that’s why i cut out a few ‘windows’ on some of the pages. like this you can still have dimension and depth in your project, without worrying how to keep it safe.
step 3: prepare a few pages from colorful cardstock. i usually start with two or three, because i never know in advance which color i’ll need next.
step 4: while cutting and arranging your decoration elements for the cover or an inner page, begin covering the rest of the album with gesso. usually, waiting for the project to the dry takes most of my time and i found out that by covering my album pages while fussy cutting or punching my embellishments, i’m saving at least 1 hour of waiting time.
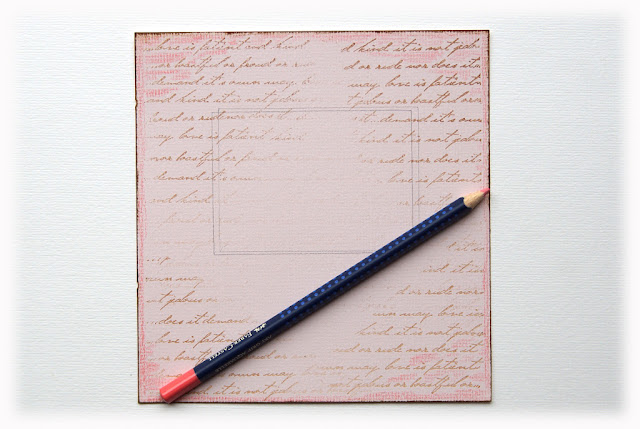
step 5: ink the edges of the cardstock pieces and the edges of the album pages. outline where the window should be begin altering the page.
step 6: to create a unique mini album page you can use all the techniques you are familiar with. i inked the edges, stamped and used FABER-CASTELL design memory craft art GRIP® aquarelle watercolor pencils to add some shades and colors to my cardstock.
step 7: after i was satisfied with the coloring i used a water brush to brush over my design to achieve the watercolor effect.
i hope you enjoyed my short tutorial!
you can follow these simple steps for the rest of the album pages, but you can also add more color, modeling paste, mod podge, etc. – the possibilities are endless.
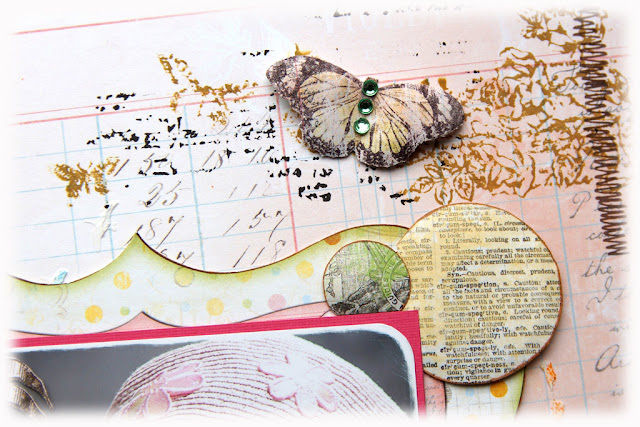
here are some close ups of my project:
i used pattern papers from BO BUNNY "country garden" collectiona; BO BUNNY flowers and brads and a lot of fussy cut and die cut {i used MARIANNE design dies} elements to embellish my cover.
i stamped the butterflies on pattern paper and then i colored them with FABER-CASTELL design memory craft art GRIP® aquarelle watercolor pencils.
to finish off my design i doodled the faux stitches and added liquid pearls.
i hope you enjoyed my little tutorial today!
have a lovely evening!
hugs 'n smiles,
Emmy


.JPG)


.JPG)


