
hello lovely friends!
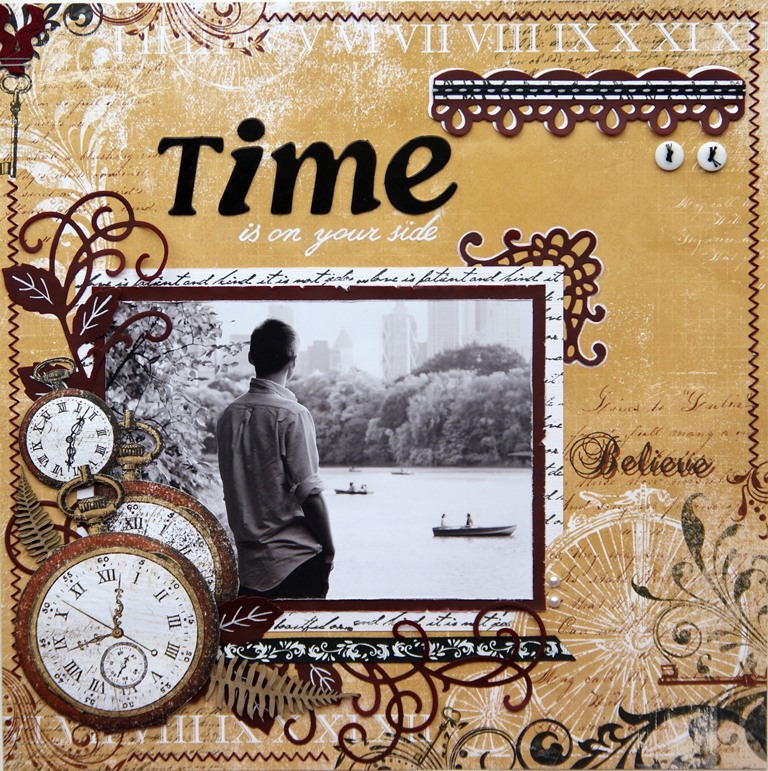
here is a project i made exclusively for heartfelt creations using their AMAZING products. i named it "TIME is on your side":
to create this layout i used the following heartfelt creations products:
other: bo bunny timepiece paper collcetion, sew easy, DMC stranded cotton, white cardstock, burgundy paper, dusty attic “ferns” die cut chipboard, prima marketing pearls, rayher black/white ribbon set, papermania burgundy floral ribbon set, white buttons.
and here is how i did it:
begin with the timepiece paper sheet from the BO BUNNY’s “time piece” collection. using SEW EASY, create a zigzag pattern along the sides and stitch it with DMC stranded cotton. take a piece of a white cardstock {15 x 20 cm} and stamp it with the large elegant word background precut set and black ink. cut a basis for the picture from the burgundy paper {14 x 19 cm}. distress the edges with Tim Holtz distressing tool. Distress the edges of the picture and attach the tree layers {picture, burgundy paper and white cardstock} together with double sided adhesive type.
begin with the timepiece paper sheet from the BO BUNNY’s “time piece” collection. using SEW EASY, create a zigzag pattern along the sides and stitch it with DMC stranded cotton. take a piece of a white cardstock {15 x 20 cm} and stamp it with the large elegant word background precut set and black ink. cut a basis for the picture from the burgundy paper {14 x 19 cm}. distress the edges with Tim Holtz distressing tool. Distress the edges of the picture and attach the tree layers {picture, burgundy paper and white cardstock} together with double sided adhesive type.
position your picture on the background sheet of paper. carefully cut around the bicycle and stick the picture behind it.


die cut two swirls with leaves with the bella rose die and one corner and one border element with the decorative butterfly / border die from the burgundy paper.
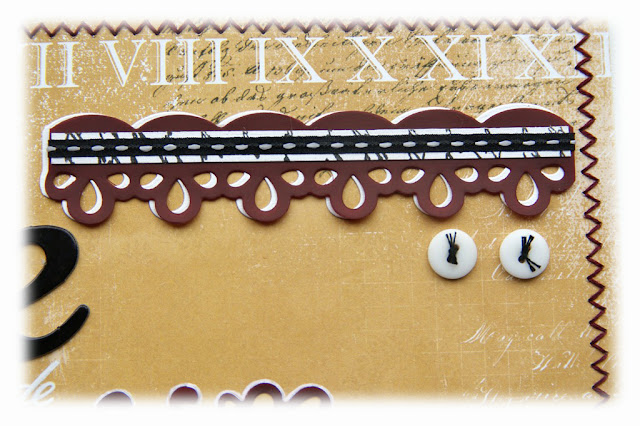
die cut another border from the white cardstock. attach to two borders together {burgundy colour on top} with double sided tape. add a stripe of stamped white cardstock and a piece of black ribbon. attach the decorative element to the right top corner of your layout. embellish it with two white buttons.
die cut another border from the white cardstock. attach to two borders together {burgundy colour on top} with double sided tape. add a stripe of stamped white cardstock and a piece of black ribbon. attach the decorative element to the right top corner of your layout. embellish it with two white buttons.

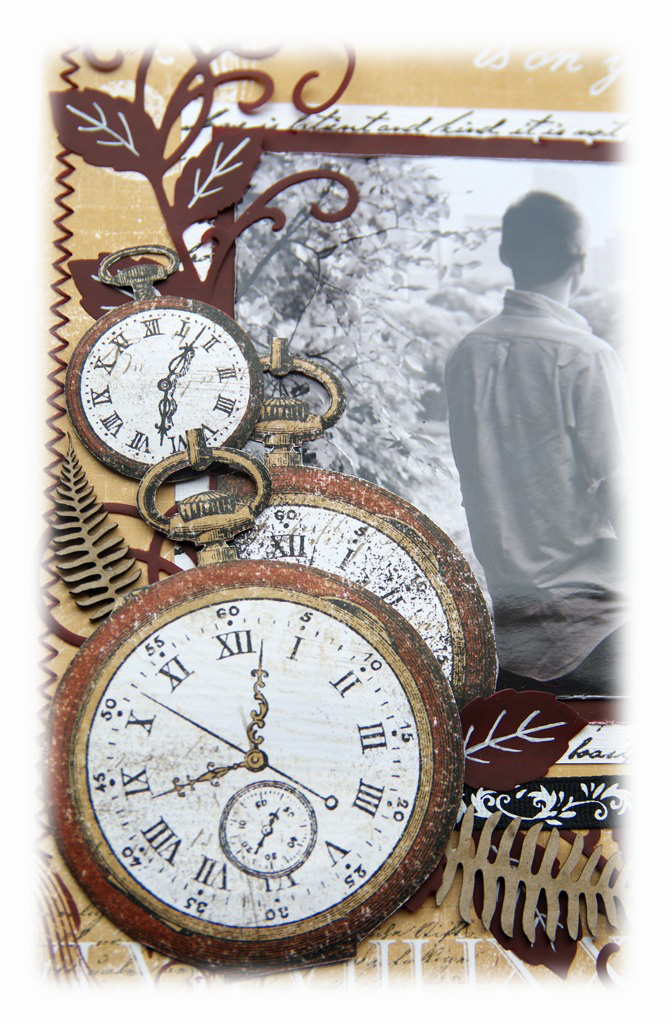
cut the swirls into pieces and arrange them around your picture. cut different size clock images from the tick tock paper sheet from BO BUNNY’s timepiece collection and add them around the picture too. add two of the dusty attic ferns and a piece of any black & white ribbon. with a white ball pen draw a leaf pattern on the die cut leaves and a frame around the decorative corner.


adhere your title and write the sub-title by hand, using the white ball pen. stamp the word BELIEVE with black and brown ink on a side of the picture.

Add some burgundy zigzag ribbon and white pearls to finish your layout.


Add some burgundy zigzag ribbon and white pearls to finish your layout.

i hope my little step by step tutorial was useful to you. and don't forget to check out all the WONDERFUL projects in the blog post at heartfelt creations! there some FABULOUS examples created by our talented design team!
keep creating!
hugs 'n smiles,
Emmy
keep creating!
hugs 'n smiles,
Emmy
5 comments:
I love your Time layout and all the elements.
beautiful
wow this is so beautiful love it!
Hi there Emmy! Just found your blog through scrapbook.com. LOVE your work. Keep it up.
This is a great page! Love how you used the papers to cut images to layer over the pic.
Post a Comment