
hello scrappy friends!
today i have a new tutorial to share with you. this one is about making your own tailor made book die cut.
all you need is a creme-coloured cardstock {or any other colour}, pencil, ink, HEARTFELT CREATIONS book frame 1 precut set, HEARTFELT CREATIONS vintage word background precut set and a ruler.
step 1: stamp the big book frame from the set on a piece of cardstock.

step 2: outline the pages by using a pencil and a ruler. i left 4 cm on each side, marked the space with little dots and then connected them together. it gets a bit of a practice until you get the curves of the pages right, but at the end you should have a perfect larger copy of the stamp on your cardstock.

step 3: cut out the inner page from step 2 and use it as a stencil for the book cover. draw some lines for the other pages on each side and colour the cover red.
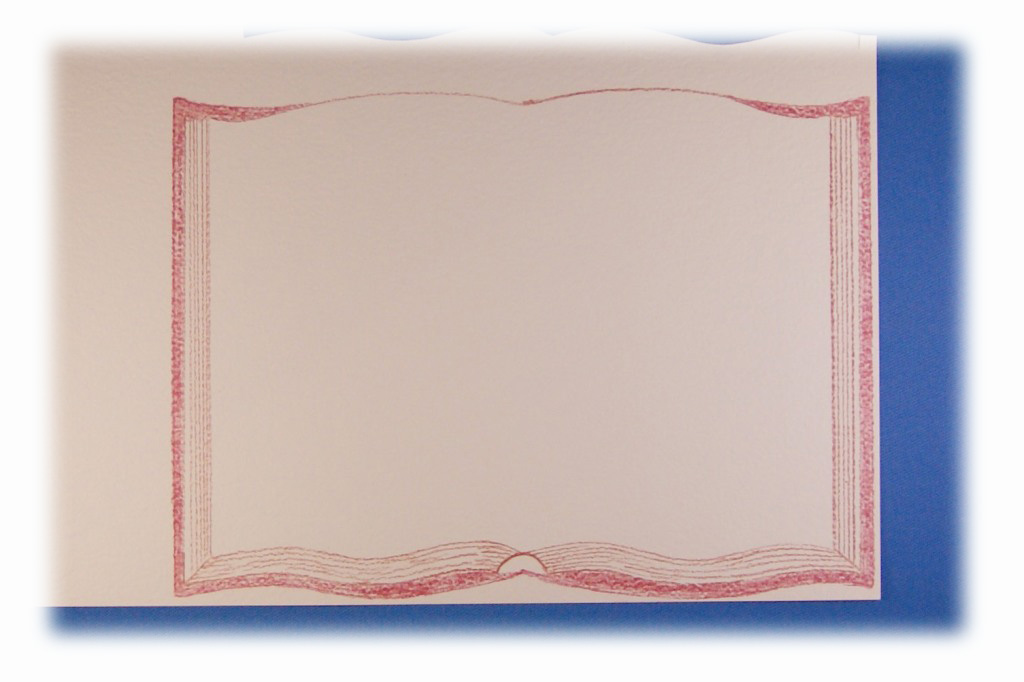
step 4: when you are done, drawing, colouring and cutting your book should like like this:

step 5: outline one of the pages on a piece of paper and cut out the inside 0,5 cm from the edge. put the cover on the page and stamp it with the vintage background precut set.

step 6: repeat the same action on the other side and the pages of your book are complete.

step 7: attach the page on top of the cover with 3d foam tape and your book is complete.

and here is a close up on how it looks on my layout:

so there you have it, some fun ways to use the AMAZING stamps from heartfelt creations and an easy way to have a tailor made die cut on your layout!
hugs 'n smiles,
Emmy
hugs 'n smiles,
Emmy
No comments:
Post a Comment