Showing posts with label Dusty Attic. Show all posts

Saturday, August 24

secret garden

hello scrappy friends!
happy saturday!

just a quick post to share a layout i completed a while ago. i really love how it turned out. may be because these are one of my favourite pictures of ELISE :-)

SECRET GARDEN


i used PRIMA marketing "divine" collection for this layout. i cut the banners from the 12" page and then i layered then with the same banners from the 6" paper pad.

the chippies i cut from the DUSTY ATTIC ornate gate - the part that is covered with the pictures.


all the flowers are from PRIMA - miss godivas {mermaid; caramel and pink}.


i fussy cut different images from the pattern paper to use them as embellishments for my page. 


for my title i used two different PRIMA alphabets - canvas and cardstock alphabet stickers. 


and here are some more close ups of my project:


THANK YOU for stopping by today!

have a craft sunday!

hugs 'n smiles,
Emmy

Wednesday, October 17

so grateful for you {DT work for heartfelt creations}

hello scrappy friends, 

it's wednesday and it time for another reveal at HEARTFELT CREATIONS

this week i've got another project for you with the amazing VINTAGE FLORET collection 

"so GRATEFUL for you"


HEARTFELT CREATIONS products used on this project: 

i begun by creating the gate image using modeling paste and PRIMA marketing "gate" mask. when it was dry i colored it pink with PAN PASTELS. 


to create the vintage blossoms i used HC open vintage floret set, HC mini vintage floret set, HC vintage floret die, HC vintage floret paper collection and RANGER "jet black" archival ink. i added 3d adhesive tape between the layers to give extra volume to the blossoms and attached them together with a pearl brad. i added STICKLES "Star Dust" glitter glue to the petals of the large blossoms and "Copper" glitter glue to the smallest blossoms.


i stamped and die cut the rose leaves {HC leaf medley set and foliage shapeabilities} from greenish pattern paper, embossed the leaves and arrangeed them around the flowers. 

then i covered a few DUSTY ATTIC chipboard leaves with STAMPENDOUS frantage aged copper emboss enamel and added them to my flowers. 


for the title i used a sentiment i cut from the pattern paper. i distressed its edges with "coffee" archival ink and  layered it on a brown cardstock tag {fancy tags two shapeabilities}.


i hope you enjoyed today's post!

and i wish to remind you that today is the last day to vote for your favourite current design team member {PICK ME! PLS PICK ME!:-)} and to win a $50 HC gift certificate. just click HERE and follow the instructions.

thank you so much for visiting my blog!
i hope i could inspire you a bit!

hugs 'n smiles,
Emmy

Tuesday, February 14

my sweet little pink fairy

hello scrappy friends!

today i've got a brand new layout to share with you:


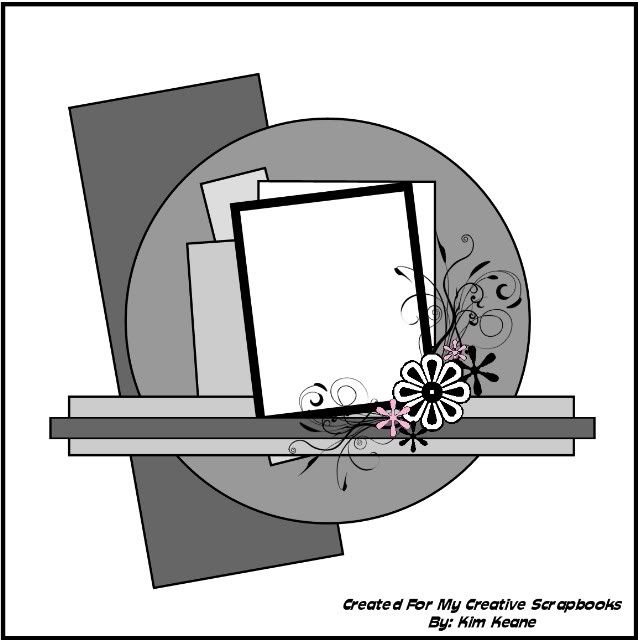
i've based my layout on MCS JANUARY sketch:


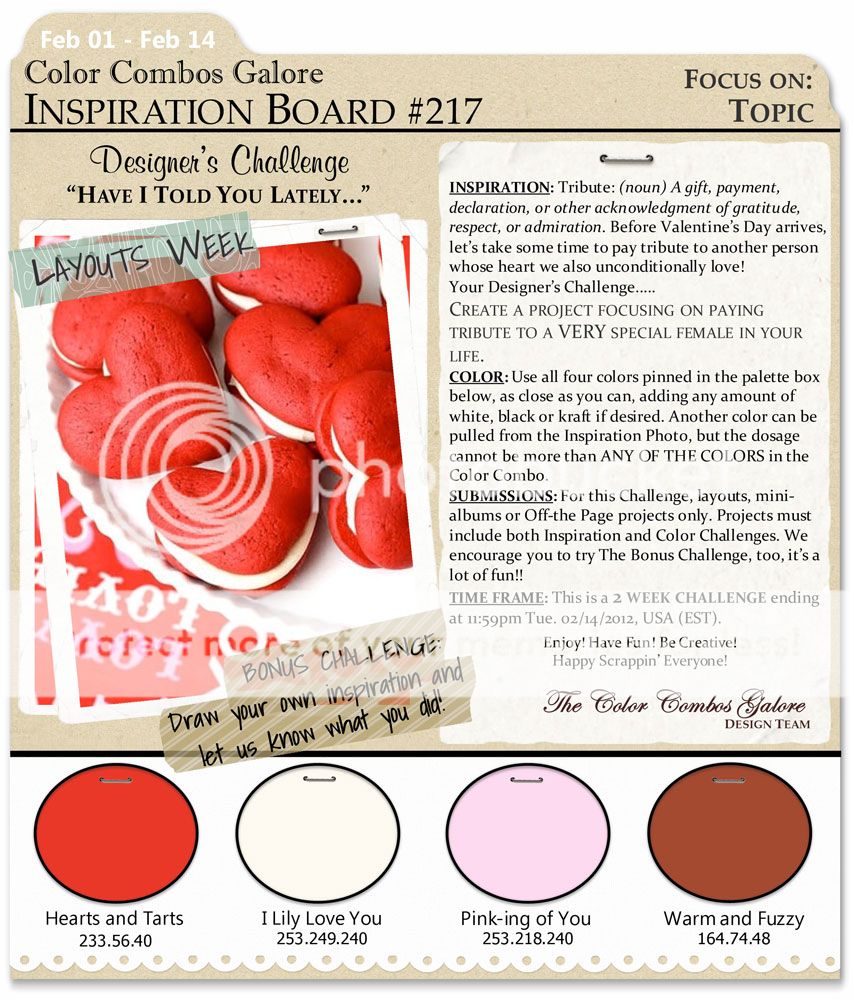
and on the color challenge #217 from COLOR COMBOS GALORE


i made this layout for my daughter ELISE. she is not as little as on the pictures anymore, but to me she will always be my sweet little pink fairy.

i used mainly PRIMA products and MARIANNE DESIGN dies.


the paperҁ are from the FABULOUS shabby chic collection. i did a lot of fussy cutting, stitching, stamping and colouring... again:-) i used PRIMA resist canvas "romantique", PINK BUBBLEGUM glimmer mist and rhinestones to create the big pinkish butterfly. the bird cage is from marianne design die.


the brown branch is also made with resist canvas and COFFEE SHOP glimmer mist, the heart comes from marinanne design and the cute little key hole and key are from DUSTY ATTIC. i added a layer of gesso and a layer of TATTERED ROSE distress ink to give them a colour fit for my design.

i stamped the fence with PRIMA stamp and colorbox brown ink pad, and cute out the white spots by hand. i added a hunt of pink ink to
the white PETALOO flowers and arranged the small roses around the fence.


the decorative frame on top of my picture is cut with HC decorative chateau gate die. to create a fairy effect, i added rhinestones.


i finished my design by adding a big pink bow:


i hope you enjoyed today's post! see you tomorrow for HEARTFELT CREATIONS wednesday!

hugs 'n smiles,
Emmy

Sunday, November 20

TIME is on your side {DT work for heartfelt creations}

hello lovely friends!

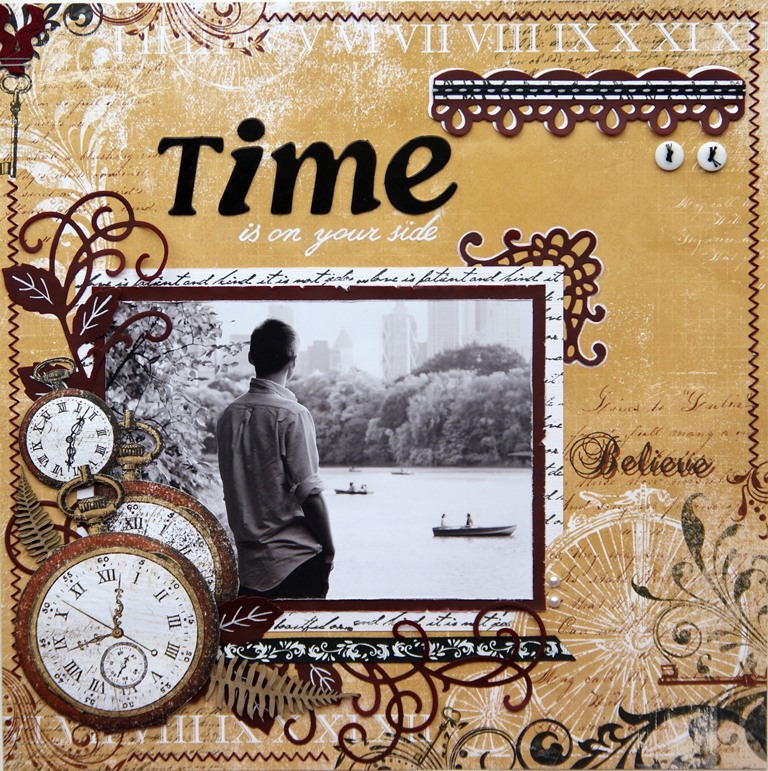
 here is a project i made exclusively for heartfelt creations using their AMAZING products. i named it "TIME is on your side": 


to create this layout i used the following heartfelt creations products:

other: bo bunny timepiece paper collcetion, sew easy, DMC stranded cotton, white cardstock, burgundy paper, dusty attic “ferns” die cut chipboard, prima marketing pearls, rayher black/white ribbon set, papermania burgundy floral ribbon set, white buttons.

and here is how i did it:
begin with the timepiece paper sheet from the BO BUNNY’s “time piece” collection. using SEW EASY, create a zigzag pattern along the sides and stitch it with DMC stranded cotton. take a piece of a white cardstock {15 x 20 cm} and stamp it with the large elegant word background precut set and black ink. cut a basis for the picture from the burgundy paper {14 x 19 cm}. distress the edges with Tim Holtz distressing tool. Distress the edges of the picture and attach the tree layers {picture, burgundy paper and white cardstock} together with double sided adhesive type.
position your picture on the background sheet of paper. carefully cut around the bicycle and stick the picture behind it.


die cut two swirls with leaves with the bella rose die and one corner and one border element with the decorative butterfly / border die from the burgundy paper.

die cut another border from the white cardstock. attach to two borders together {burgundy colour on top} with double sided tape. add a stripe of stamped white cardstock and a piece of black ribbon. attach the decorative element to the right top corner of your layout. embellish it with two white buttons.


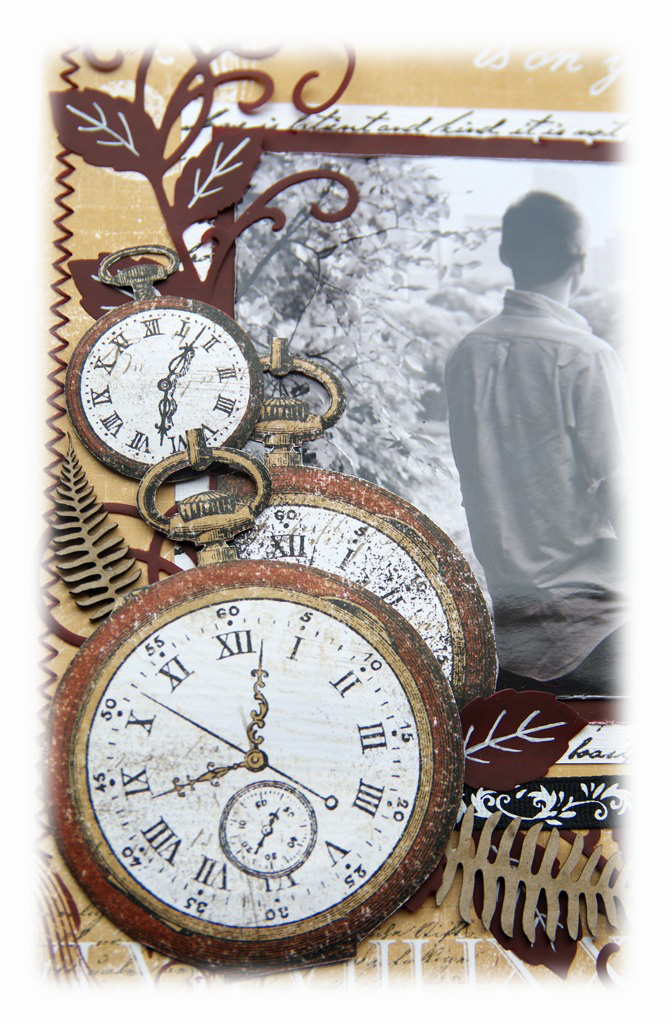
cut the swirls into pieces and arrange them around your picture. cut different size clock images from the tick tock paper sheet from BO BUNNY’s timepiece collection and add them around the picture too. add two of the dusty attic ferns and a piece of any black & white ribbon. with a white ball pen draw a leaf pattern on the die cut leaves and a frame around the decorative corner.


adhere your title and write the sub-title by hand, using the white ball pen. stamp the word BELIEVE with black and brown ink on a side of the picture.


 Add some burgundy zigzag ribbon and white pearls to finish your layout.


i hope my little step by step tutorial was useful to you. and don't forget to check out all the WONDERFUL projects in the blog post at heartfelt creations! there some FABULOUS examples created by our talented design team!

keep creating!

hugs 'n smiles,
Emmy

Thursday, August 11

i've been published!!!

hello bloggers!

just a quick newsflash - i've been published! again! YES!

i was pleasantly surprised when i got an e-mail from gingerscrapstreet.com editors, that my layout "little pixie" is chosen to be published in their august 2011 issue.


the article, featuring my layout, is about "playing with dolls" and the possibilities of using chipboard or hand-made mannequins on your page. 

on my layout i used the FABULOUS dusty attic chipboard mannequin, which i dressed up like tinker bell. a used white lace (coloured green with glimmer mist) and hand-made blue wings. i think that it looks just perfect on my little pixie layout.

if you are interested in some close ups and more detailed information about my layout, you can read my original post HERE.

if you wish to read the complete article from gingerscrapstreet.com magazine, click HERE.

off to fetch some ice-cream now!

hugs 'n smiles,
Emmy

Thursday, May 19

little pixie {CCG #192 & dusty attic}

hello lovely friends!

my newest project is a combination between the color combos galore colour challenge #192:

and dusty attic's monthly sketch:


and here is the result:


i used the tinker bell themed papers and embellishments from sandylion, glimmer mist, PRIMA marketing flowers, martha stewart punches, lace and copic ciao markers.

i started with white cardstock and two bottles of glimmer mist - delphinium and caribbean blue. after some spaying and misting the result was fit for a fairy-layout:-)

i used the DUSTY ATTIC dress form #2 chippie, which i embellished with a green lace (it was originally white, but thanks to the WONDERFUL hula hoop glimmer mist, i got the green colour i needed) and blue wings (cut out from glittery cardstock).

for the title i used the sandylion tinker bell alphabet. i added gem stones, which were pre-coloured with copic ciao emerald green (G05) marker.


i ruffled and twisted the ribbons, to create dimensional effect. i stitched a lot as usual and added more gem stones:-)


the 3d pictures of Tinker Bell have no purpose, but there are so cute and i couldn't resist not to add them to my layout:-)


i used PRIMA markeing innocence collection (# 540272) for the white flower. to create the soft off white colour, i sprayed the blossom with perfect pearls mist (perfect pearl) and glimmer mist (Silver). i used martha stewart punches and some glittery cardstock for the butterflies.


and that's how i've created my fairy layout for my LITTLE PIXIE ELISE:-)

thank you stopping by!

hugs 'n smiles,
Emmy